


This guide walks through how to add an email editor to a Vue 3 demo app using TinyMCE. You'll start with a working demo project, drop in the TinyMCE Vue component, and configure the features that actually matter for email:
- Full Page HTML for document-level control.
- Inline CSS to keep styles intact across email clients.
- Templates for reusable content.
- Merge Tags for dynamic field injection.
By the end, you'll have a Vue email editor component that handles the realities of HTML email rendering without weeks of custom development.
Email HTML is its own world, with inline styles, full document control, merge tags, and rendering quirks that vary by client. When you’re building a Vue.js email messaging app, handling all of the different requirements for the email composer can be daunting. But it doesn’t have to be. When you integrate a secure and versatile rich text editor (RTE) into your editor component that automatically manages HTML, a development process that typically spans multiple sprints turns into a task that just takes a few minutes.
Step one: Clone and run the demo Vue project
You'll need two things before you start, in addition to basic familiarity with Git, GitHub, Vue, and TypeScript. (Familiarity with GitHub CLI is optional.)
- A free TinyMCE API key for your WYSIWYG editor integration.
- Node.js to run the Vue project locally.
Clone the project
First, clone the TinyMCE Vue email marketing demo project from GitHub. There are two ways to do this:
- Visit the repository page and click the green Code button.
- Run this GitHub CLI command in your local GitHub folder:
gh repo clone tinymce/blog-vue-ems-demoYou'll get the blog-vue-ems-demo project, which you can open in any IDE to continue.
Run the demo locally
To start the project locally, run these commands inside the blog-vue-ems-demo folder:
npm install
npm run devOpen http://localhost:5173/ in your browser to see the Vue email marketing creator running in the dev environment. This is where you'll see changes as you make them; no refresh needed.
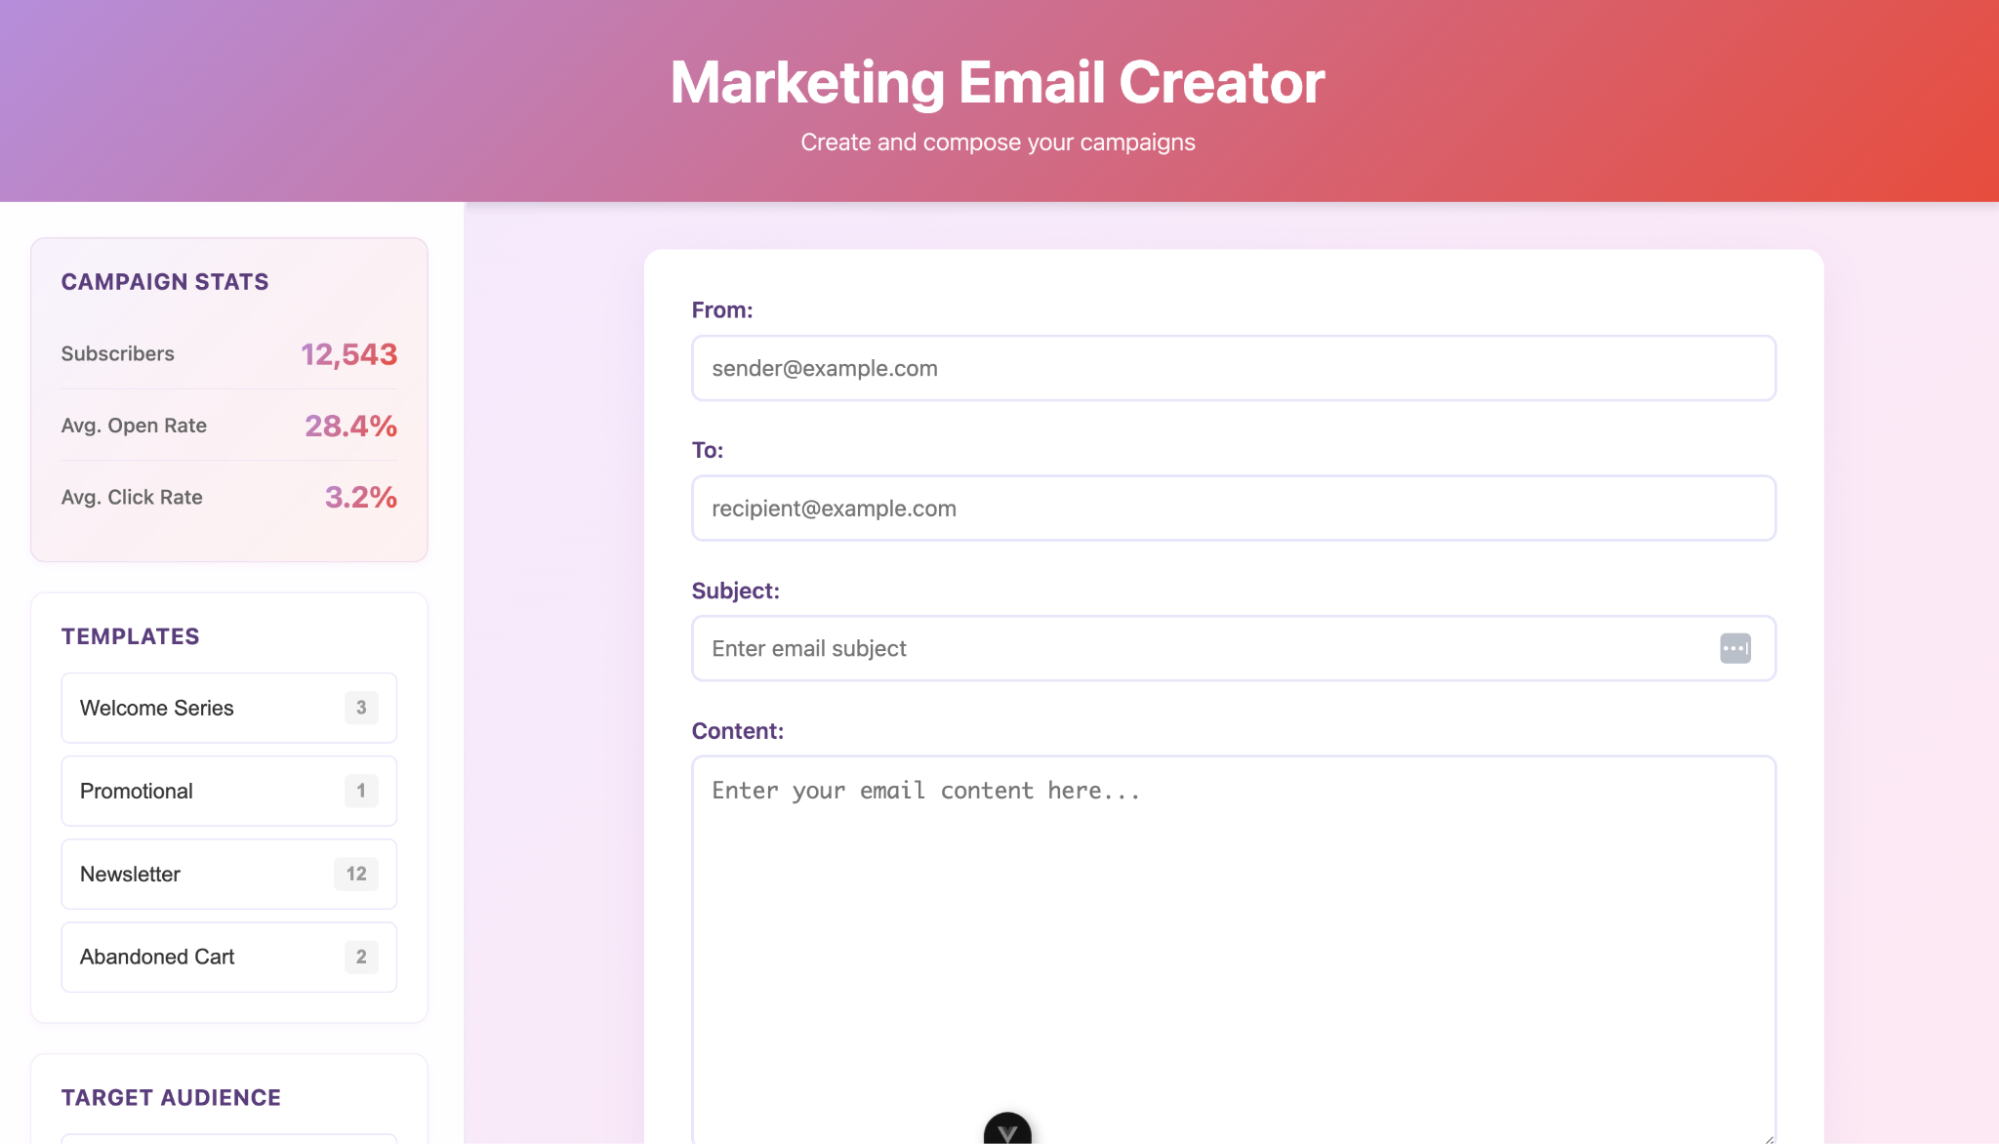
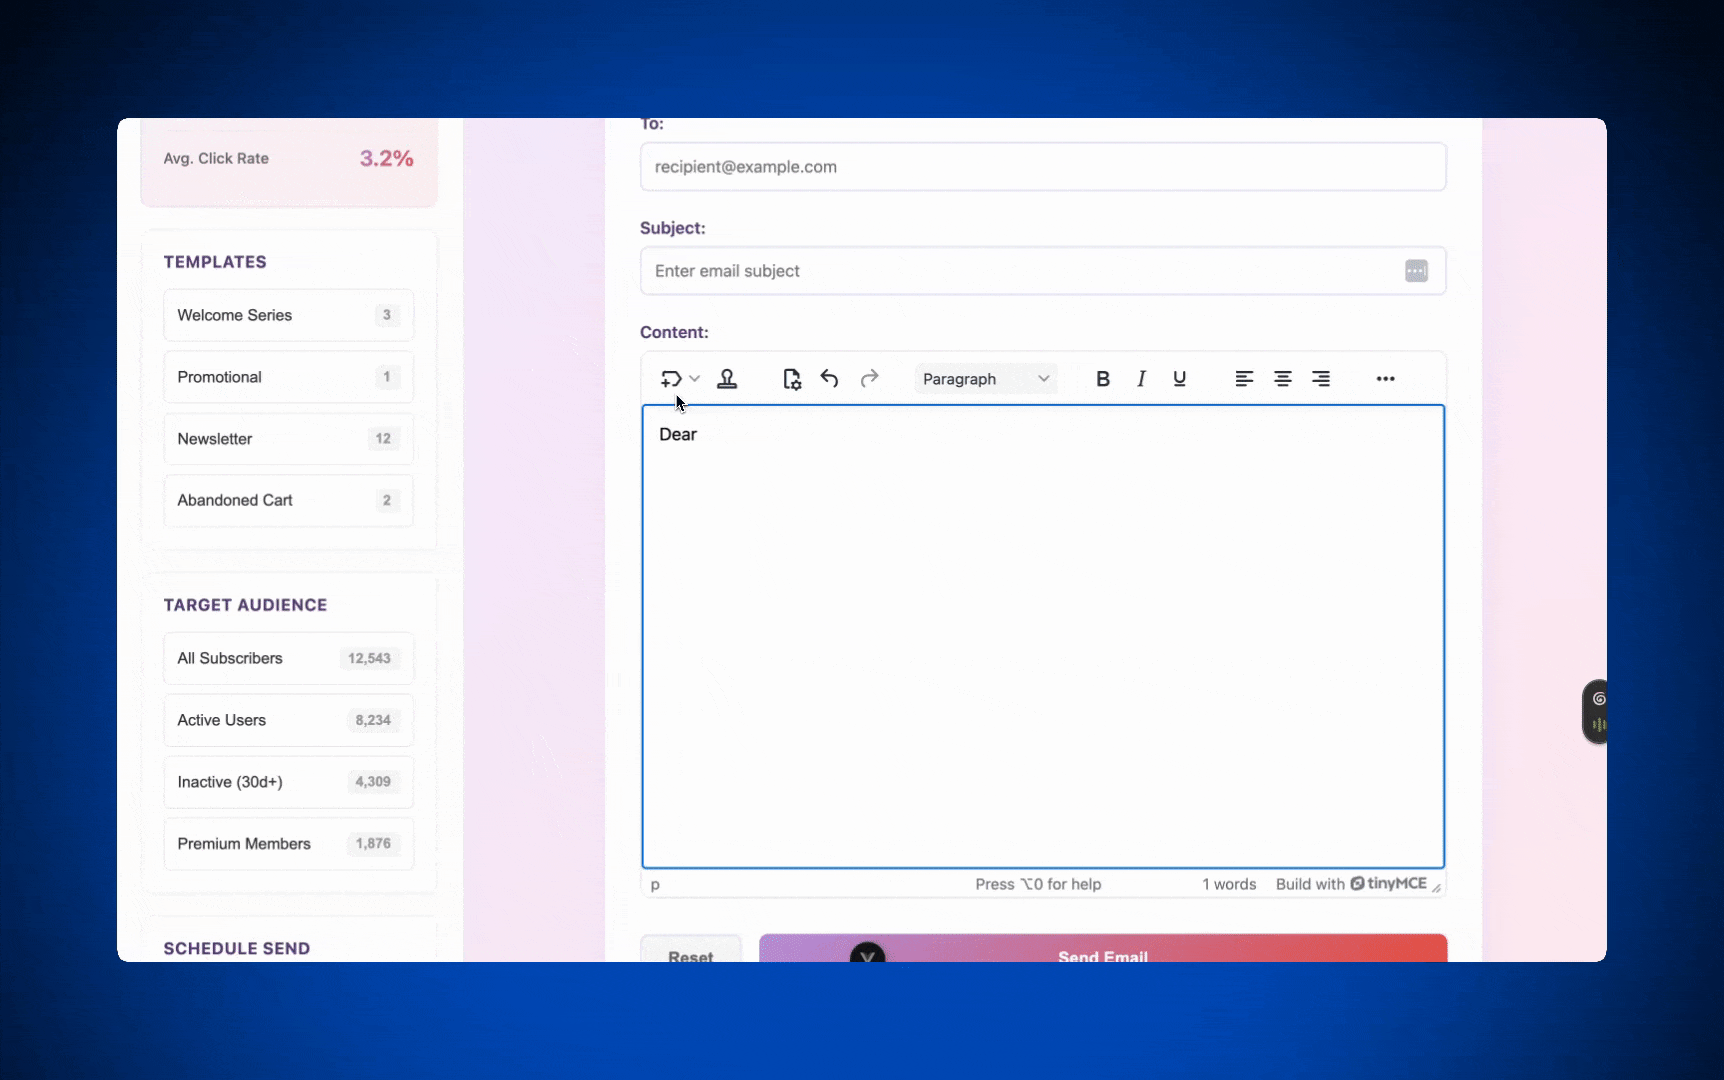
The demo is a clean Marketing Email Creator with a sidebar that shows campaign stats, template options, audience segments, and send scheduling. The sidebar elements are visual mockups for now, but you can wire them up to your own backend later if you want.
What you care about for this tutorial is the Content field, which is a plain <textarea> element that you'll replace with TinyMCE.
That's all it takes to fire up the project locally. Now let's give it a real RTE.
Step two: Add TinyMCE to your Vue project
TinyMCE has a native Vue integration that drops right into a Vue 3 + Vite project. You will:
- Install the Vue package.
- Register the editor as a component.
- Replace the existing textarea with a working WYSIWYG.
Install the TinyMCE Vue package
Inside the blog-vue-ems-demo folder, install the official TinyMCE Vue wrapper:
npm install @tinymce/tinymce-vueImport the Editor into App.vue
Open src/App.vue in your IDE. At the top of the file you’ll see <script setup> block. Add the TinyMCE Vue import below the existing ref import:
import { ref } from "vue";
import Editor from "@tinymce/tinymce-vue";
That's all the wiring you need on the script side. The Editor component is now available to use anywhere in your template.
Replace the textarea with TinyMCE
Find the <textarea> block in the template that handles the email content. It looks like this:
<div class="form-group full-width">
  <label for="content">Content:</label>
  <textarea
    id="content"
    v-model="email.content"
    placeholder="Enter your email content here..."
    rows="12"
  ></textarea>
</div>;
Replace the <textarea> with the TinyMCE <editor> component:
<div class="form-group full-width">
  <label for="content">Content:</label>
  <editor
    api-key="no-api-key"
    v-model="email.content"
    :init="{
      height: 500,
      menubar: false,
      plugins:
        'advlist autolink link image lists charmap preview anchor searchreplace visualblocks code fullscreen insertdatetime media table help wordcount',
      toolbar:
        'undo redo | styles | bold italic underline | alignleft aligncenter alignright | bullist numlist outdent indent | link image | code preview'
    }"
  />
</div>What's this code doing? The v-model="email.content" binding keeps TinyMCE wired to the same reactive email object the rest of the form already uses, so the existing Reset button and Send Email button continue to work without any extra plumbing. The plugins and toolbar arrays load a standard set of formatting controls your users will expect from a rich text editor.
Add your API key: Replace no-api-key in the api-key prop with a real TinyMCE API key. If you haven't grabbed one yet, you can get a free TinyMCE API key. The 14-day trial gives you access to all of the premium plugins, including the email features you'll configure in the next step.
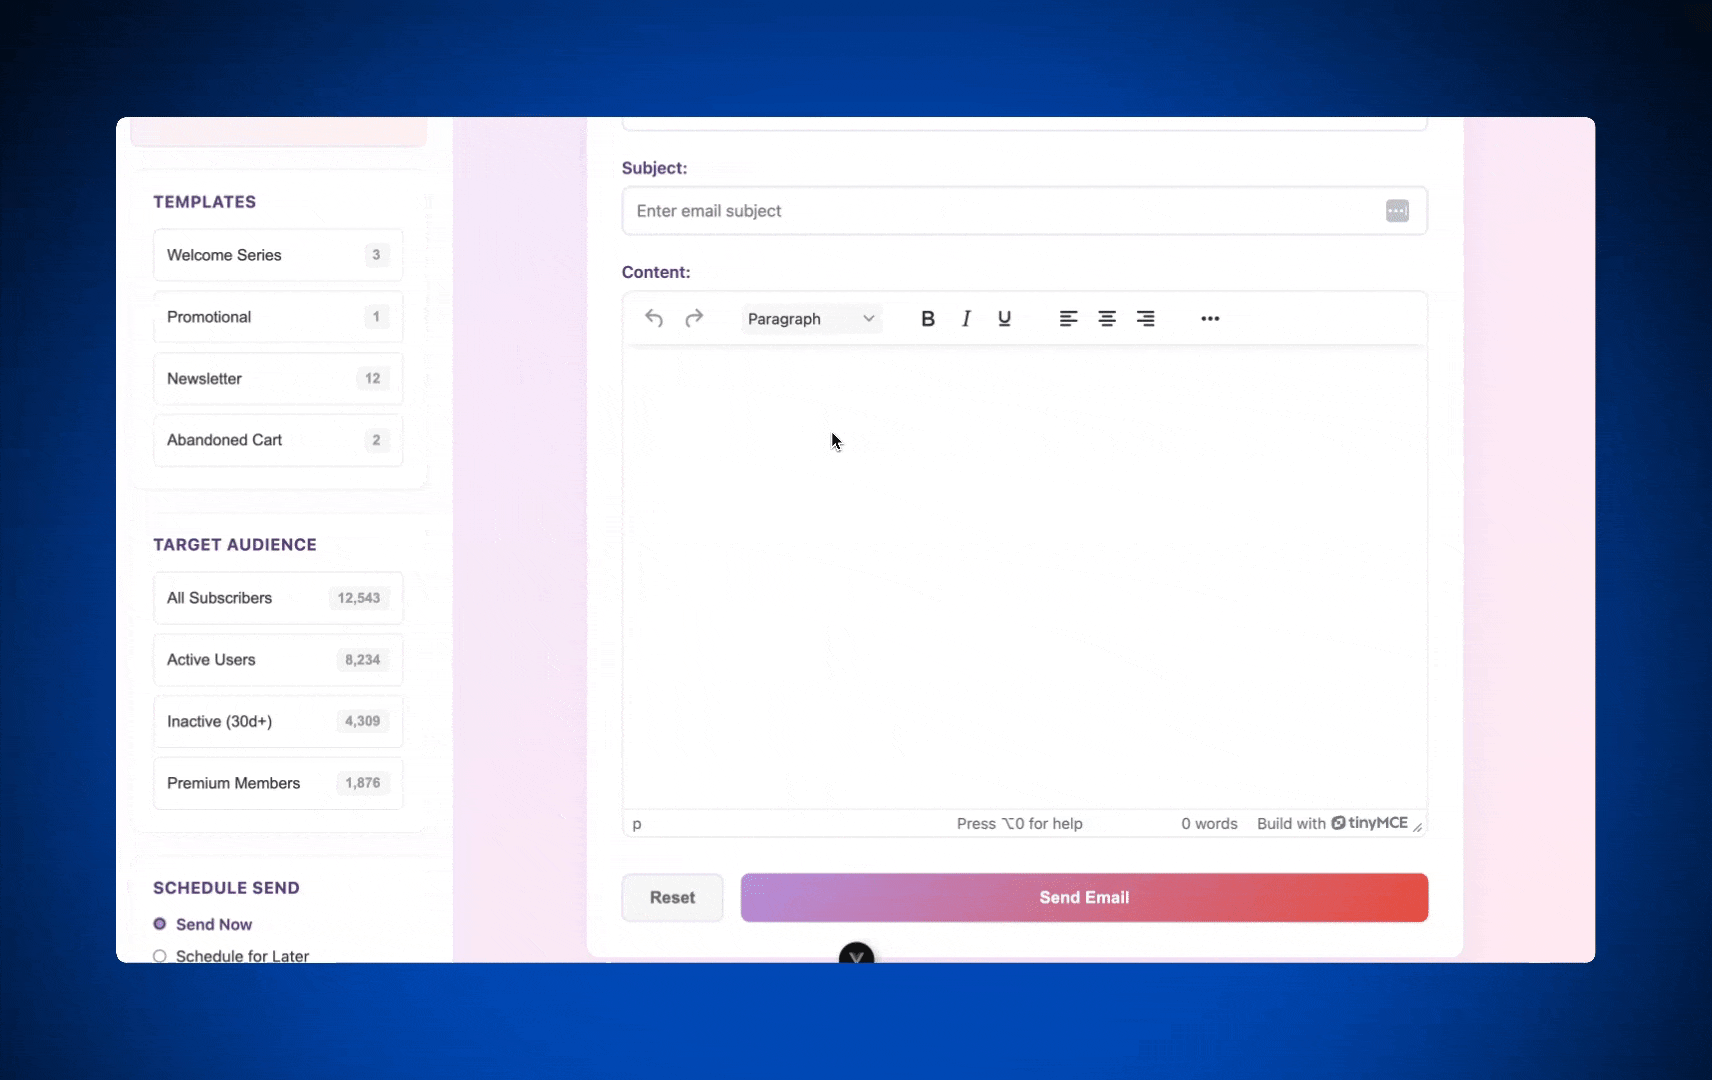
To finish integrating the RTE, save App.vue, run npm run dev, and look at http://localhost:5173/. You'll see TinyMCE rendered in the Content field, replacing the plain textarea.
You've got a Vue email editor component running. But for an email marketing app, you’ll need more than the basics. It’s time to add the features that help your RTE handle email HTML cleanly and securely.
Step three: Add email-specific features to your Vue editor component
Email is a constrained, quirky format where <style> blocks get stripped, document metadata affects deliverability, and your users need reusable templates and dynamic fields. TinyMCE handles all of this with four plugins that drop into the same init object you already have. You'll add them one at a time so you can see what each one does on its own.
Add Full Page HTML
Full Page HTML exposes the entire document structure inside the editor, not just the body content. This matters for your users who need to edit <head> elements like <title>, <meta>, or encoding declarations. Without Full Page HTML, you'd need to build a separate interface for document-level tags or trust your users to safely edit raw HTML.
To add Full Page HTML to your editor, make two changes to the init object:
- Add
fullpagehtmlto thepluginsstring. - Add
fullpagehtmlto thetoolbarstring.
It looks like this in the editor config:
:init="{
  height: 500,
  menubar: false,
  plugins:
    'fullpagehtml advlist autolink link image lists charmap preview anchor searchreplace visualblocks code fullscreen insertdatetime media table help wordcount',
  toolbar:
    'fullpagehtml | undo redo | styles | bold italic underline | alignleft aligncenter alignright | bullist numlist outdent indent | link image | code preview'
}"What’s the piping in the toolbar? The piping in the toolbar array in between plugin names creates groups in the toolbar UI.
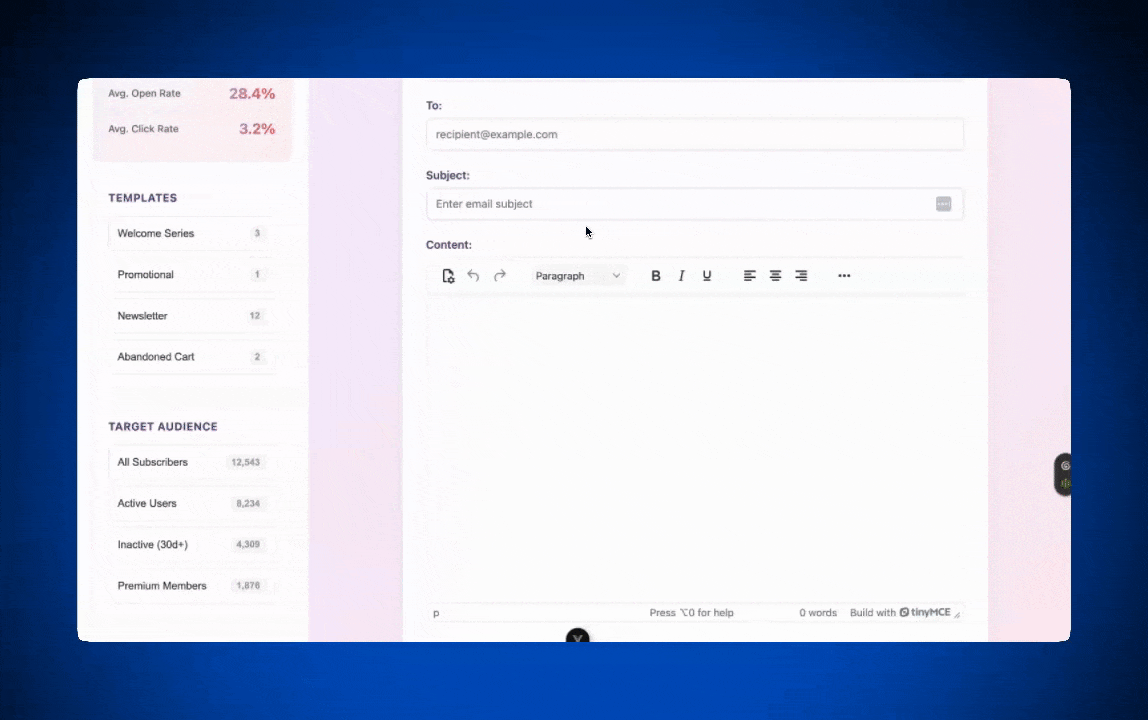
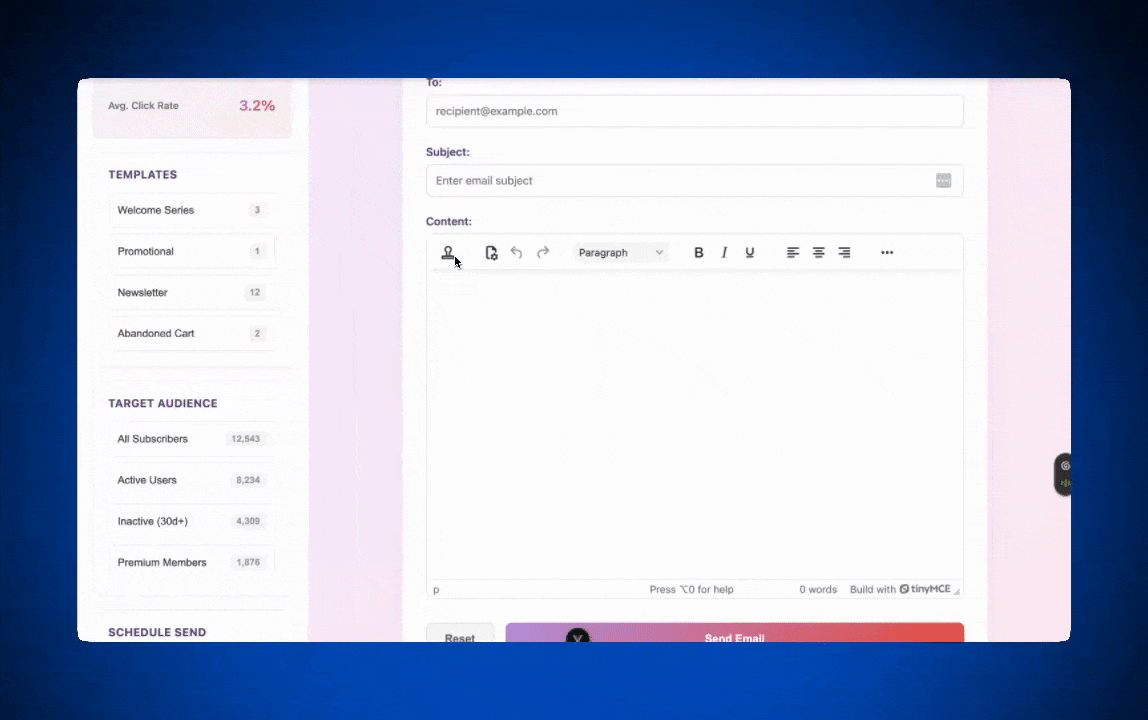
Save App.vue and check http://localhost:5173/. Click the Full Page HTML button in the toolbar to open the document properties dialog, where your users can edit the title, meta tags, and encoding. Click the Source Code button to see the complete HTML document, head and all.

Add Inline CSS
Most email clients strip or ignore <style> blocks and external stylesheets, so if CSS styles aren't inline, formatting can break in the recipient's inbox. Your users might send a beautifully styled email, and only two-thirds of recipients see the styles.
TinyMCE's Inline CSS plugin preserves inline style attributes through the editing process, so what your users see is what their recipients actually get. You don't need to run a separate CSS inlining tool before every campaign gets sent.
To add Inline CSS, just add inlinecss to the plugins string. It doesn't need a toolbar button because it works in the background:
plugins:
'inlinecss fullpagehtml advlist autolink link image lists charmap preview anchor searchreplace visualblocks code fullscreen insertdatetime media table help wordcount',To test it, save App.vue and click the Source Code button in the toolbar at http://localhost:5173/. Paste in some HTML with inline styles, like this:
<h1 style="font-size: 20px; font-family: -apple-system, Helvetica, Arial, sans-serif; color: #1f2937;">Hi {{First Name}},</h1>
<p style="font-size: 16px; color: #4b5563; font-family: -apple-system, Helvetica, Arial, sans-serif; line-height: 1.5rem;">Here's an example of email content with inline styles that survive the editor.</p>
<p style="font-size: 16px; color: #dc2626; font-weight: 600; font-family: -apple-system, Georgia, serif;">And here's a styled callout in a different font.</p>Click Save in the Code dialog. The inline styles render in the editor and stay attached to the elements, ready to display content properly in most email clients.
Add Templates
Templates let your users insert pre-built content blocks instead of writing repetitive messages from scratch. For an email marketing app, this is what onboarding sequences, promotional emails, and abandoned cart messages depend on. TinyMCE reads JSON or HTML templates and organizes them into a menu your users can pull from.
For this demo, you'll hardcode a few samples to see how the feature behaves. To add Templates, you'll make three changes:
- Add
advtemplateto thepluginsstring. - Add
inserttemplateto thetoolbarstring. - Define an
advtemplate_templatesconstant and reference it ininit.
First, add the advtemplate_templates constant to the <script setup> block in App.vue, below the existing stats object:
const advtemplate_templates = [
  {
    title: "Customer onboarding",
    items: [
      {
        title: "Welcome new subscriber",
        content:
          "<p><strong>Welcome to the Brightside community!</strong></p><p>Thanks for joining our list. You'll be the first to hear about fresh launches, limited offers, and behind-the-scenes updates.</p><p>Talk soon,<br />The Brightside Team 🌞</p>",
      },
      {
        title: "First purchase thank-you",
        content:
          '<p><strong>You did it, your order is on the way!</strong></p><p>Hi {{First Name}}, thank you for trusting Brightside with your first purchase. As a welcome gift, enjoy <strong>15% off</strong> your next order with code <span style="background-color:#fef3c7;padding:2px 6px;border-radius:4px;">HELLOAGAIN</span>.</p>',
      },
    ],
  },
  {
    title: "Promotions & launches",
    items: [
      {
        title: "Product launch spotlight",
        content:
          "<p><strong>Introducing the Glow Serum</strong></p><p>Meet the newest member of our skincare lineup: a vitamin C powerhouse that brightens, hydrates, and defends your skin in just one pump.</p>",
      },
      {
        title: "72-hour flash sale",
        content:
          "<p><strong>72-Hour Flash Sale Starts Now!</strong></p><p>Gear up for the season with sitewide savings, <strong>up to 35% off</strong>.</p>",
      },
    ],
  },
];
Then update the init object to include the plugin, the toolbar button, and the templates reference:
:init="{
  height: 500,
  menubar: false,
  plugins:
    'advtemplate inlinecss fullpagehtml advlist autolink link image lists charmap preview anchor searchreplace visualblocks code fullscreen insertdatetime media table help wordcount',
  toolbar:
    'inserttemplate | fullpagehtml | undo redo | styles | bold italic underline | alignleft aligncenter alignright | bullist numlist outdent indent | link image | code preview',
  advtemplate_templates
}"⚠️ Note: In production, you'd load advtemplate_templates from your backend rather than hardcoding them. The pattern is the same. TinyMCE accepts the templates as an array of objects, whether they come from a static file or an API call.
Save App.vue and click the Insert template button in the toolbar at http://localhost:5173/. You'll see your hardcoded templates organized by category, ready to drop into a message.
Add Merge Tags
Merge Tags handle dynamic field injection without you building a custom placeholder parser. Instead of writing token replacement logic from scratch, you configure a mergetags_list and TinyMCE renders the tags as non-editable elements in the editor. You control what data they map to and how they're processed server-side when the email gets sent.
The pattern is the same as Templates:
- Add
mergetagsto thepluginsstring. - Add
mergetagsto thetoolbarstring. - Define a
mergetags_listconstant and reference it ininit.
Add the merge tags list to the <script setup> block below your advtemplate_templates:
const mergetags_list = [
  {
    title: "Customer",
    menu: [
      { value: "First Name", title: "First Name" },
      { value: "Company Name", title: "Company Name" },
      { value: "Email Address", title: "Email Address" },
    ],
  },
  {
    title: "Compliance & Footer",
    menu: [
      { value: "Unsubscribe Link", title: "Unsubscribe" },
      { value: "Update Preferences", title: "Update Preferences" },
      { value: "Company Address", title: "Company Address" },
    ],
  },
];
Update the init object to include the plugin, the toolbar button, and the merge tags reference:
:init="{
  height: 500,
  menubar: false,
  plugins:
    'mergetags advtemplate inlinecss fullpagehtml advlist autolink link image lists charmap preview anchor searchreplace visualblocks code fullscreen insertdatetime media table help wordcount',
  toolbar:
    'mergetags inserttemplate | fullpagehtml | undo redo | styles | bold italic underline | alignleft aligncenter alignright | bullist numlist outdent indent | link image | code preview',
  advtemplate_templates,
  mergetags_list
}"Save App.vue and click the Merge Tags button in the toolbar at http://localhost:5173/. You'll see the categories you defined, with each merge field ready to insert. The tags render as structured elements that stay distinct from regular content, which makes them easy to parse and replace on the server side when the message goes out.
Worth noting: TinyMCE is SOC 2 Type 2 compliant, which checks the security box for SaaS products handling customer data through an email composer. That's one less audit conversation to have when your enterprise customers ask about your editor.
You have a production-ready email editor running inside your Vue app. Full document control, inline styles that survive the inbox, reusable templates, and dynamic merge fields, all configured through the same init object.
Wrap up: Complete your Vue email app
Email composition is a feature that can look small from the outside and then turn into a multi-quarter project once you start building it. The work that goes into a real email editor (Full Page HTML, Inline CSS, Templates, Merge Tags, plus a stable Vue integration) is work TinyMCE has already done, so you don’t have to do the heavy lifting. From here, you can wire the sidebar mockups in the demo to your real backend, connect to your email delivery service of choice (check out the TinyMCE Resend + React tutorial), and ship.
If you haven’t already, sign up for a free TinyMCE API key and start building today.
FAQs
Does TinyMCE work with Vue 3 and the Composition API?
Yes. The official TinyMCE Vue wrapper supports Vue 3, the Composition API, reactive props, and lifecycle events like onEditorChange. The integration in this guide uses Vue 3 with <script setup> syntax throughout.
Do I need a TinyMCE API key for local development?
You can run TinyMCE locally without a key, but the editor will display a warning and premium features like Full Page HTML, Inline CSS, Templates, and Merge Tags won't load. A free TinyMCE API key unlocks all premium plugins for 14 days.
Will the inline styles my users add actually survive in real email clients?
That's exactly what the TinyMCE Inline CSS plugin is for. Most email clients strip <style> blocks and external stylesheets, but they respect inline style attributes. Inline CSS preserves those attributes through the editing process so what your users compose is what their recipients receive.
How do I connect Templates and Merge Tags to my real backend?
In production, you'd replace the hardcoded advtemplate_templates and mergetags_list arrays with a callback function that fetches data from your backend. TinyMCE accepts both as arrays of objects, so the contract is the same whether the data is hardcoded or loaded from an API.
Is TinyMCE SOC 2 compliant?
Yes. TinyMCE is SOC 2 Type 2 compliant, which matters for SaaS products handling customer content through an email composer.
Can I use TinyMCE in a Nuxt project?
Yes. The TinyMCE Vue wrapper works in Nuxt with a couple of adjustments to handle server-side rendering. Check out the Vue section of the TinyMCE Developer Center.


